Set up your first store
Your store is the home for everything you sell. This guide walks you through creating one and points you to the settings that get it ready to take orders.
Where to find it: open Settings and choose Add a store, or go to
/stores/new. You can also switch stores from the store name at the top of the app.
Before you start
- You need a signed-in merchant account. If you don't have one yet, start with Create your account.
- Have your basics handy: store name, a one-line description, a contact phone and email, and your business type.
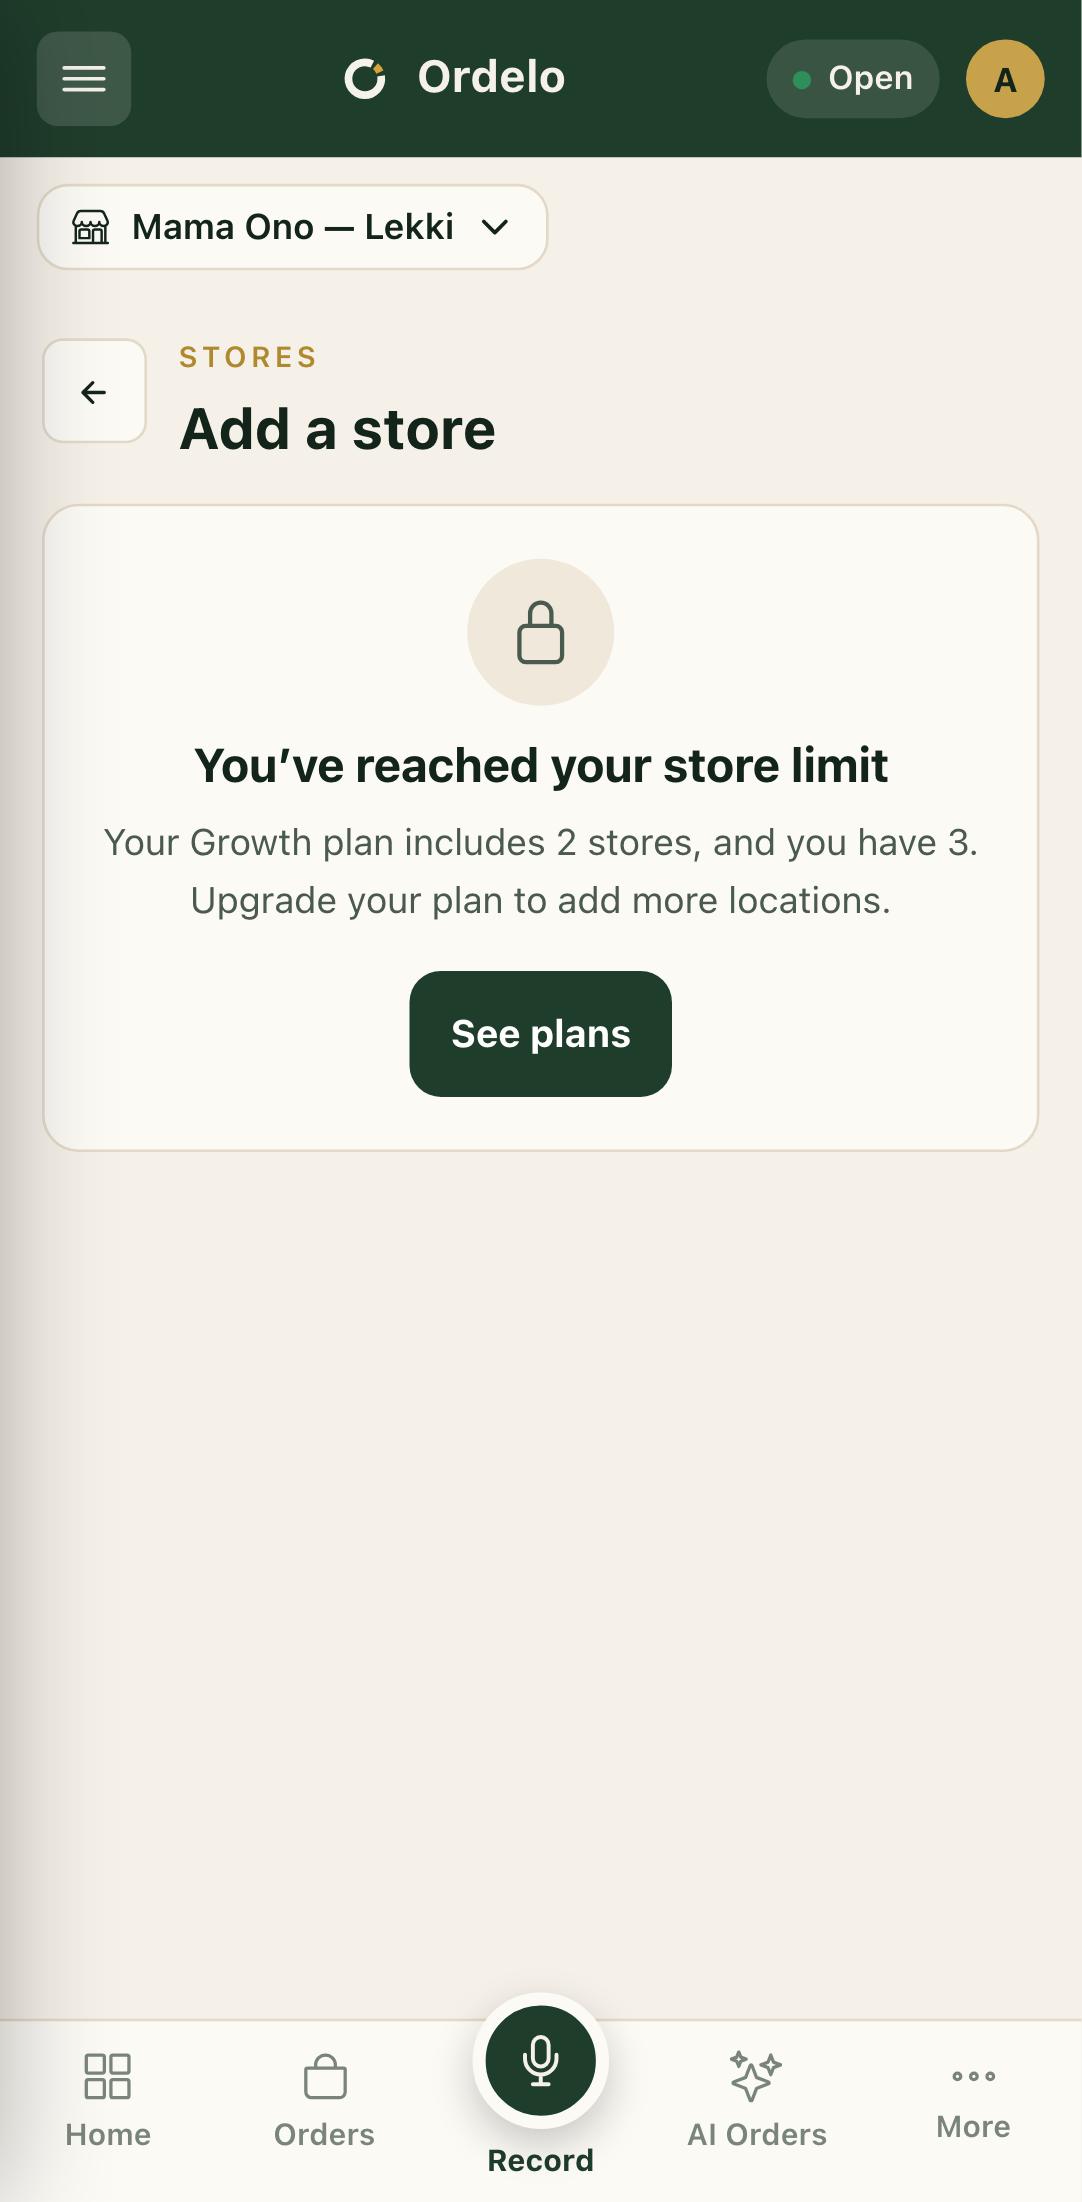
- Your plan sets how many stores you can have. If you're already at the limit, the form shows a "You've reached your store limit" card instead. Tap See plans to upgrade, or see Plans and subscription.
Create the store
- Open Settings, then tap Add a store.
- Enter a Store name, for example "Mama Ono, Yaba". It needs at least 3 characters.
- Write a short Description, for example "Fresh, made-to-order meals".
- Check the Email and Phone. Your account email is filled in already, but you can change it.
- Add a WhatsApp number if you take orders there. This one is optional.
- Pick your Country, then choose a Store type from the list.
- Tick This store can handle its own delivery if you deliver orders yourself.
- Tap Create store. When it saves, you land on your store settings, ready to finish setup.
 The create-store form
Finish setup in Store settings
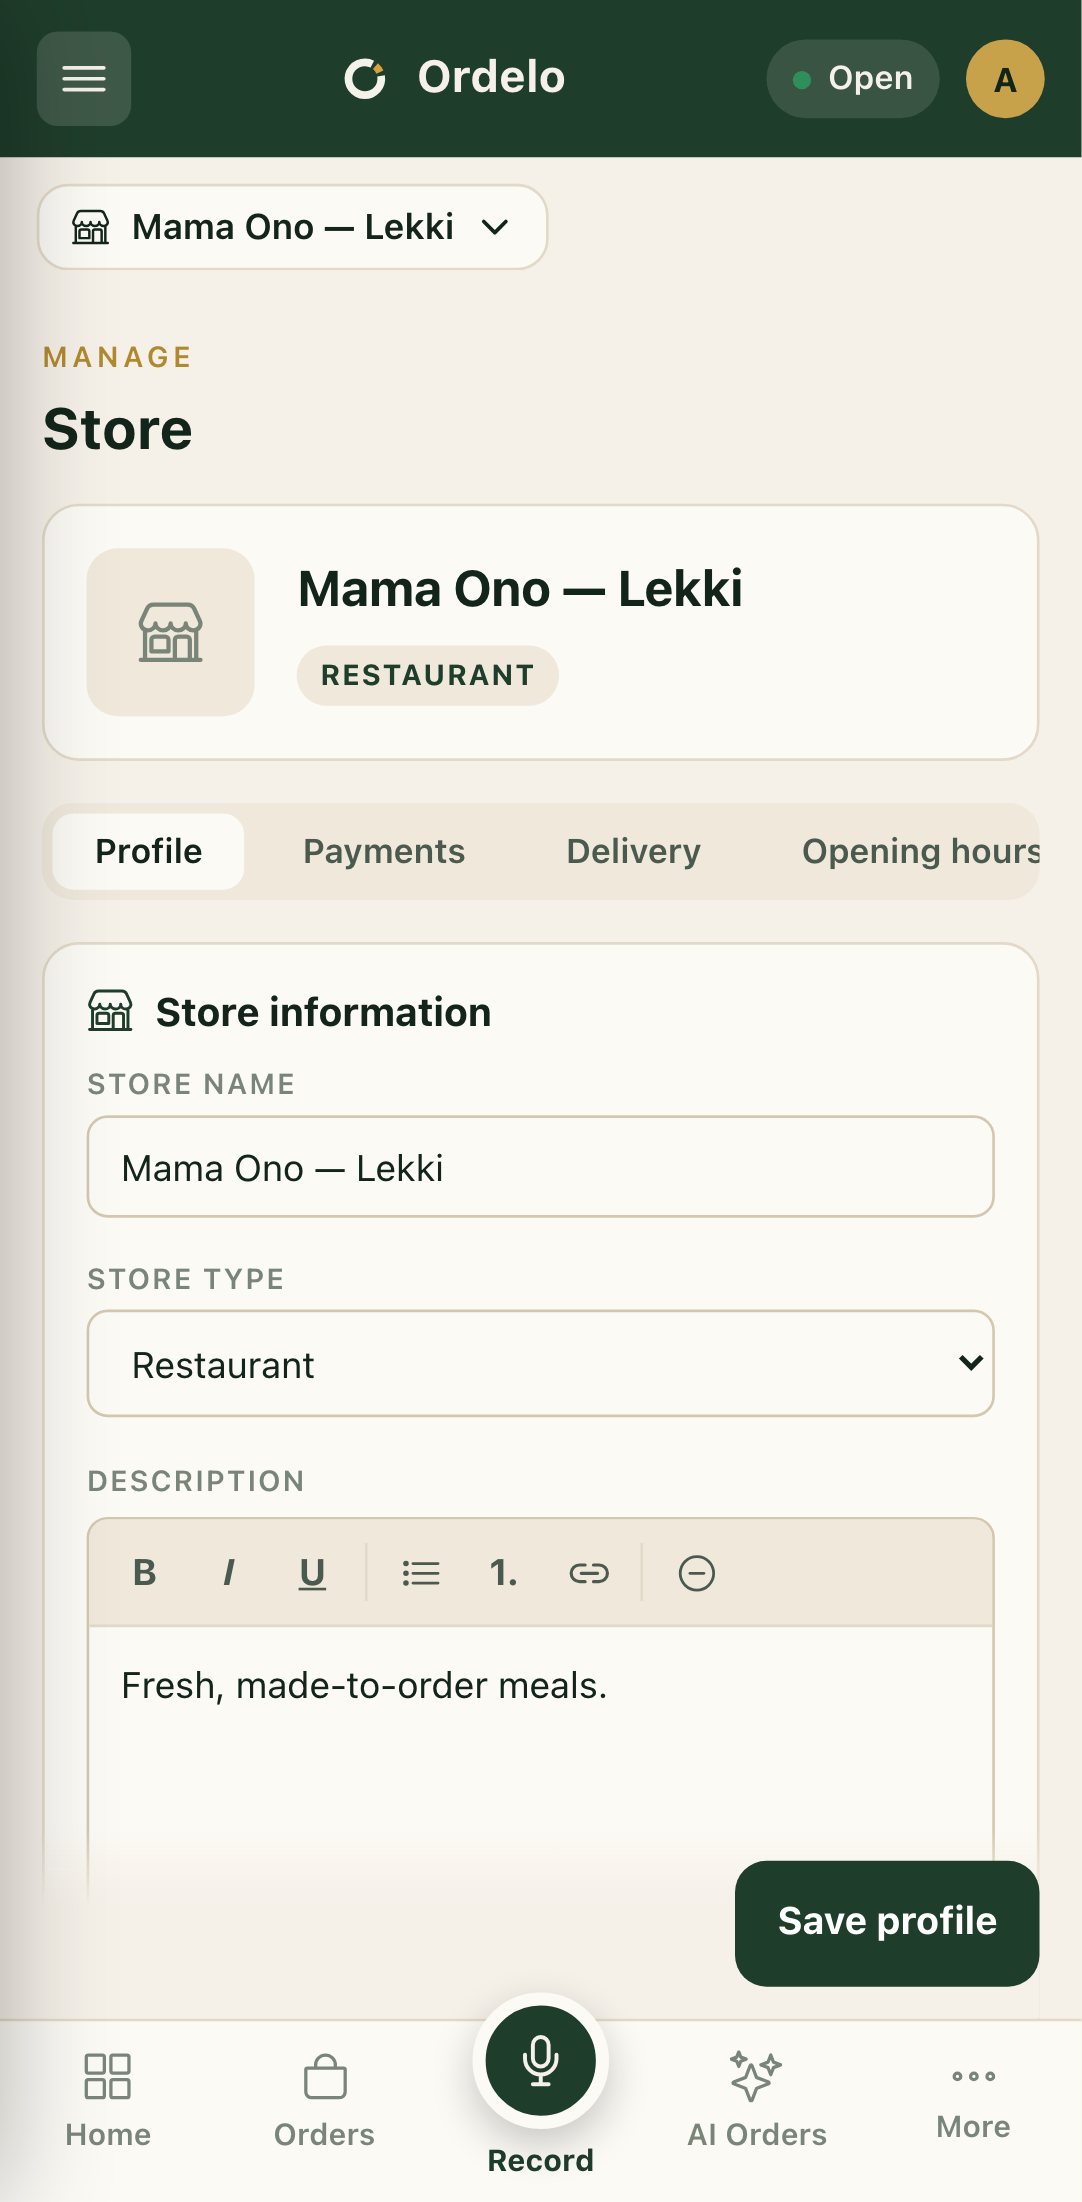
Your new store opens on the Store page. It has six tabs, and each one saves on its own, so remember to tap the Save button on a tab before moving to the next.
 Your store settings tabs
Work through them in this order:
- Profile — your name, description, contact details, logo, and address. Pin your location on the map so customers and delivery find you. See Store profile and location.
- Payments — tick the ways customers can pay you. See Payment settings.
- Delivery — choose pickup or delivery, and set your areas and fees. See Delivery settings.
- Opening hours — switch on the days you trade and set your times. See Opening hours.
- Account — add the bank account your payouts are sent to. The app verifies the account name with your bank before you can save it. This is the account used for Payouts and settlements.
- Inventory — turn on stock tracking and set your low-stock alerts, if you want to manage stock. See Track stock.
Tips
- Set the map pin carefully. On the Profile tab you can search your address, tap Use my location, or drag the pin. Getting this right helps delivery and shows customers where you are.
- The settlement account lives under Account, not Payments. Payments is about how customers pay you. Account is where your money lands.
- You can come back any time. Create the store now and fill in hours, delivery, and bank details later. Nothing here is one-and-done.
- Adding a second location? The same flow applies, as long as your plan has room for another store.