Store profile and location
Your profile is what customers see: your name, how to reach you, your logo, and where you are on the map. This is the first tab to fill in after you create a store.
Where to find it: open Store, then the Profile tab (or go to
/store). It's the tab that opens by default.
Before you start
- Create your store first if you haven't. See Set up your first store.
- Have your logo image and your exact address ready.
Fill in your store information
- Check your Store name and Store type.
- Write your Description in the text editor. You can format it a little, so a short, appetising line works well.
- Under Contact, add your Email, Phone number, and WhatsApp number so customers can reach you.
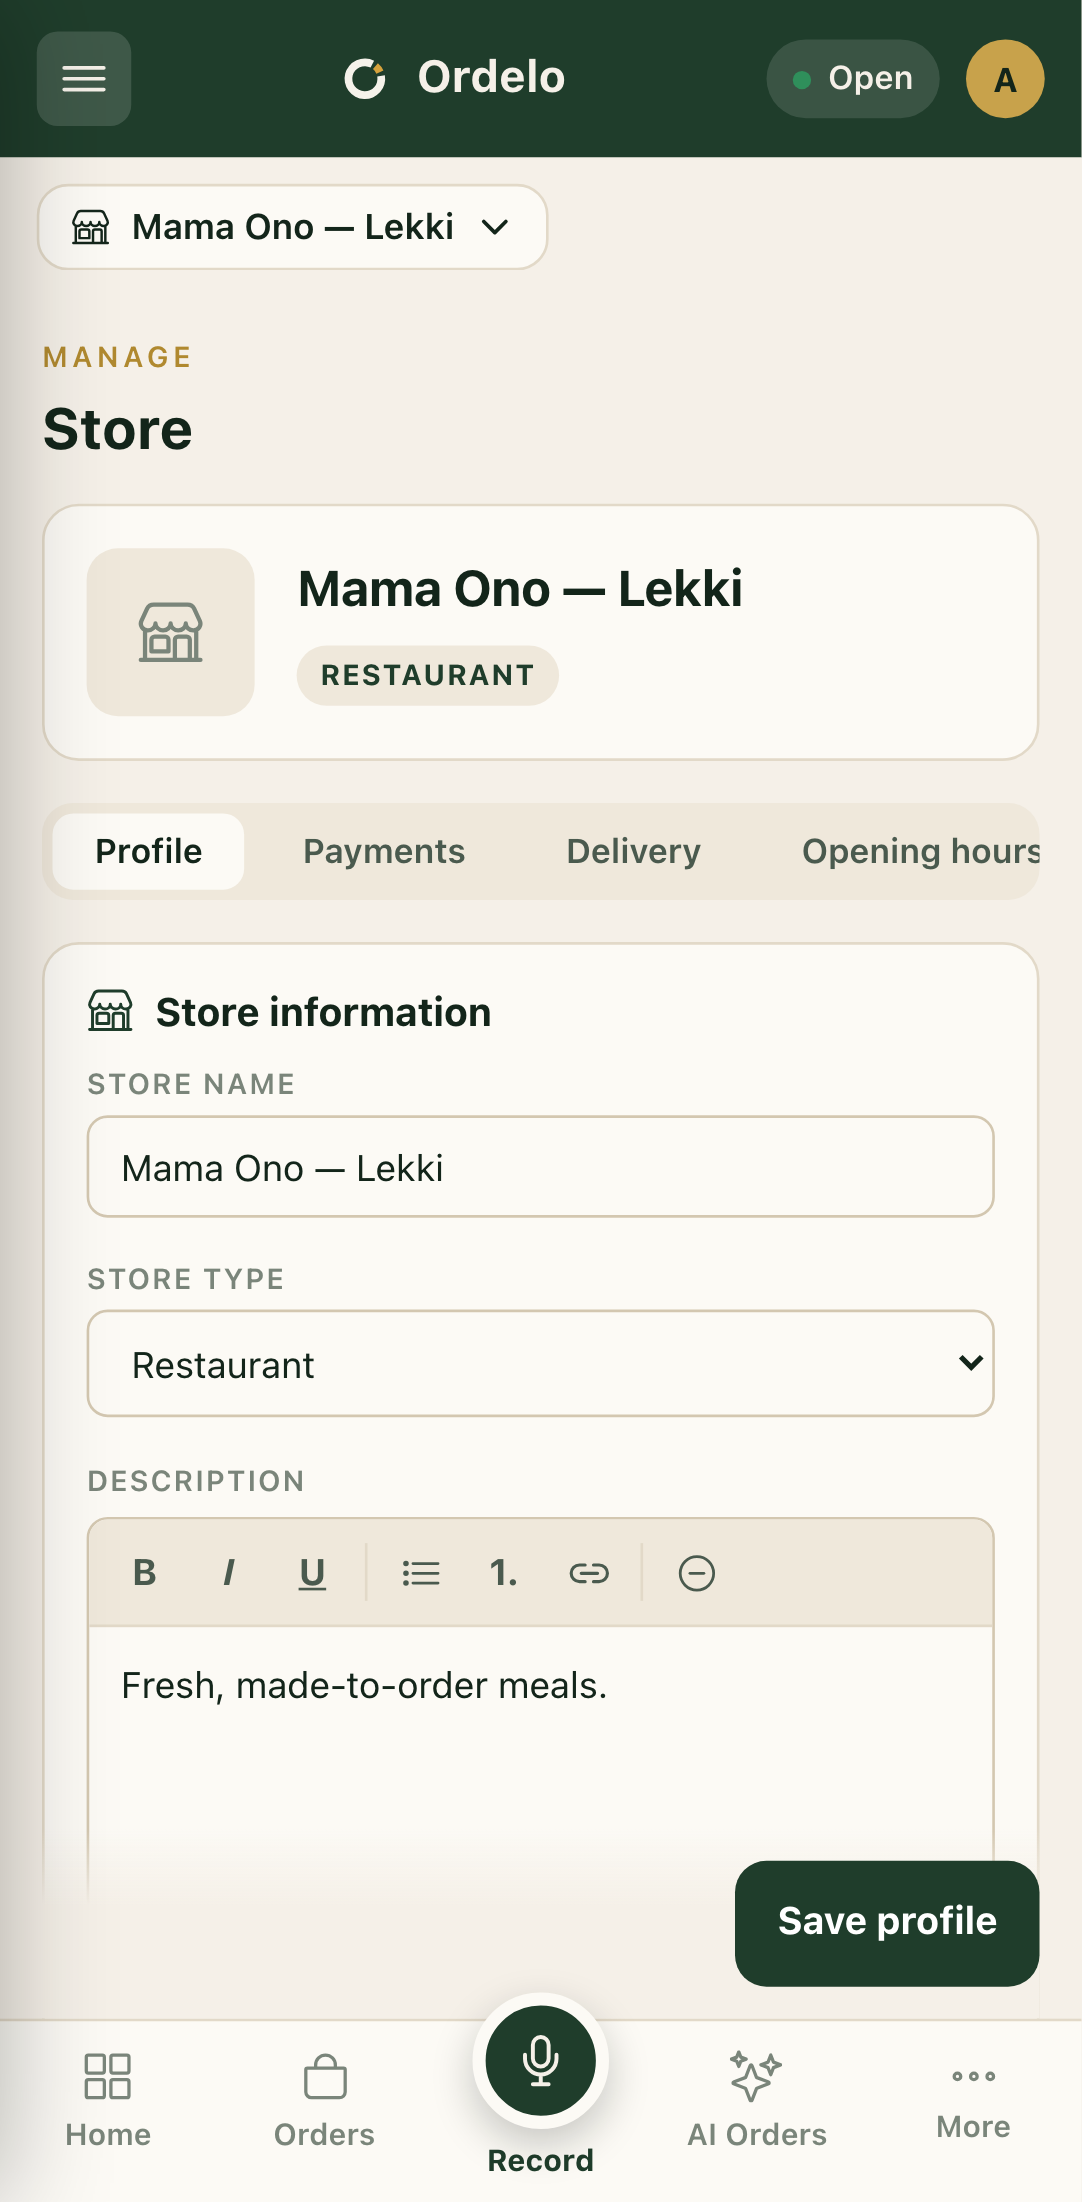 The Profile tab
Set your address and map pin
- Choose your City from the list.
- In Street address, start typing and pick your address from the suggestions. The map recenters and drops a pin, and the nearby fields fill in for you.
- Add Flat / suite / floor, Zip code, and a Landmark if they help customers find you.
- To place the pin precisely, use any of these:
- Pick a suggestion in Street address.
- Tap Use my location to use your phone's GPS.
- Drag the pin on the map to the exact spot.
- The coordinates shown under Use my location confirm where the pin sits.
Add your branding
In the Branding panel, tap Upload logo and Upload background to add your images. These upload straight away, so you don't need to press Save for them.
Save
Tap Save profile at the bottom. Each tab on the Store page saves on its own, so saving here does not save Payments, Delivery, or Hours.
Tips
- The map pin matters for delivery. A pin in the wrong place sends riders to the wrong door. Take a moment to drag it exactly right.
- If address search doesn't load, you'll see a plain text box instead. Type your address in manually and carry on.
- The logo and background save on upload, separately from the Save profile button.