Customer directory
The customer directory is your address book of everyone you've saved. Search for a customer, check their details, and add new ones by hand.
Where to find it: open Customers → All customers, or go to
/customers.
Plan
This is a paid feature. Check that your current plan includes it before you rely on it. Open Plans and subscription to compare plans and upgrade.
Before you start
- Customers show up here after you add them, or as you attach them to orders at checkout. See Take an order (POS).
- Have the customer's phone and email handy before you add one. Both are required.
Steps
- Open Customers → All customers. The saved customers load in a list.
- To find someone, type in the Search by name, phone or email… box at the top. The list filters as you type.
- Read a row. Each shows the customer's name and email, their phone number, a type badge (Individual or Organization), and a status badge (Active or Blacklisted).
- If the list runs long, use the Page X of Y arrows at the bottom to move through it.
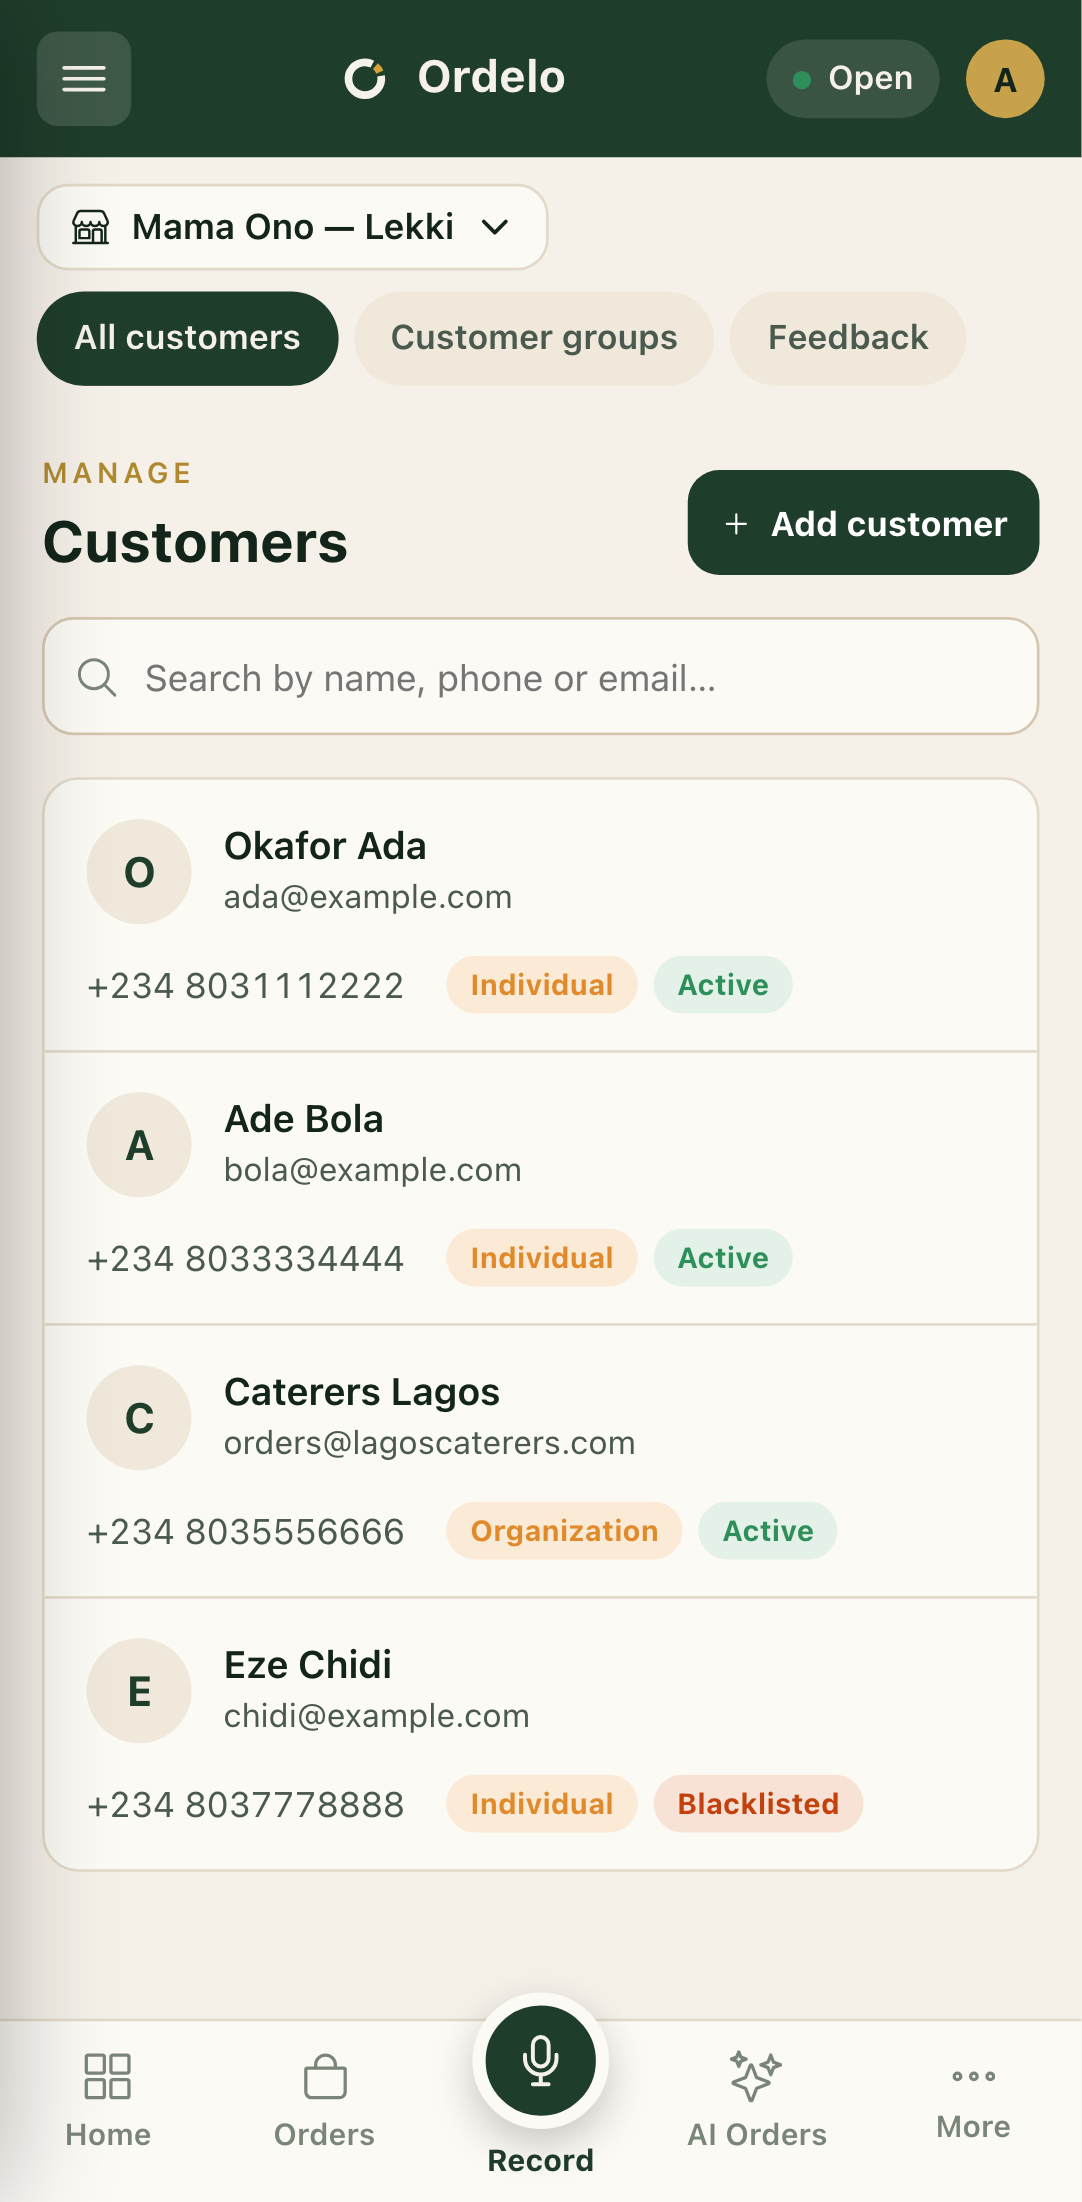 Customer list
Add a customer by hand
- Tap Add customer at the top right.
- Fill in First name and Surname.
- Enter the Email.
- Pick the dialling Code, then type the Phone number.
- Choose a Customer type: Individual or Organization.
- Tap Add customer to save. The button reads Saving… while it works, then the customer joins your list.
Tips
- Pull down to refresh. If you added a customer on another device, pull the list down to reload it.
- The form won't save half-filled. It needs first name, surname, a valid email, and a phone number before Add customer goes through.
- Blacklisted is a status, not a delete. A blacklisted customer stays in the directory with a red badge, so you always have the record.
- Regulars attached at checkout land here too. You don't have to add them by hand if you already save them to their orders.